Introduction
This document describes how to build an home automation app, to interact with external devices to the smartphone, using SAndroidE framework.
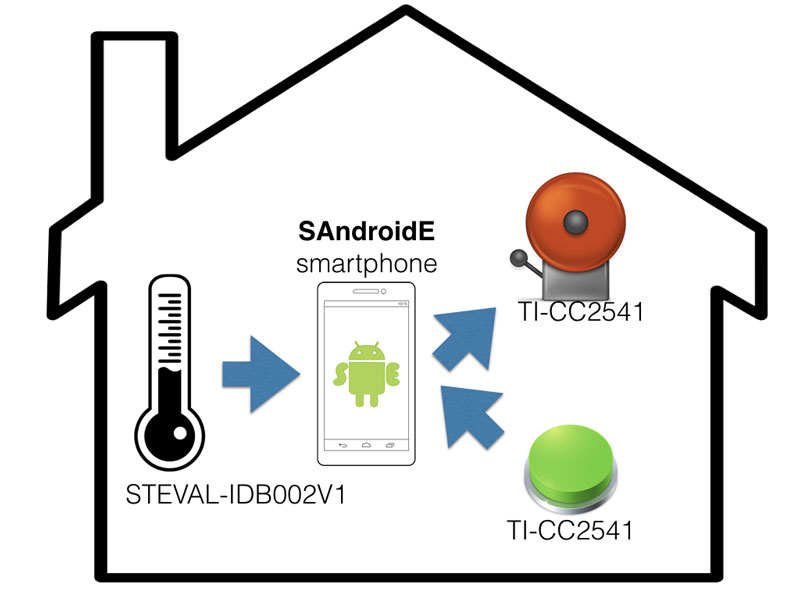
The set up is composed by the following SAndroidE compatible devices:
- CC2541 Mini Development Kit from Texas Instruments
- STEVAL-IDB002V1 BLUENRG-DK from STMicroElectronics
The goal of the application will be the development of a temperature control system. The system will read the environmental temperature provided by the sensor mounted on the ST device, to control an alarm installed on the Texas device. This alarm should play for 9 seconds or until the user stops it pressing a button mounted on the same Texas device.
app-domotica-temp.jpg
Requirements
To start you should have:
- one CC2541and one STEVAL-IDB002V1 devices
- a smartphone supporting Bluetooth 4.0-4.1 (aka Bluetooth Smart)
- a micro USB cable to deploy application to your smartphone, or alternatively ADB wifi Android app to deploy over wireless connection
- Android Studio
- SAndroidE zip package: download the zip file and extract to a directory
- basic programming knowledge of Android applications
Usage
Implementation consists of three steps:
- devices firmware flashing (if needed)
- enumerating the resources provided by external devices we want to interact with
- developing an Android app which exploits the SAndrodE framework to implement the desired application logic
Firmware flashing
The first step is to flash a Sandroide compatible firmware to the two external devices. As previously said, the firmware is not specific for the application, but if is generic provided within respective development kits. SAndroidE framework handles the the remote devices resources exploiting the description provided by the xml files. How to describe a new device/firmware is described here.
This step may be not needed if you know the firmware installed in the device is already a supported one.
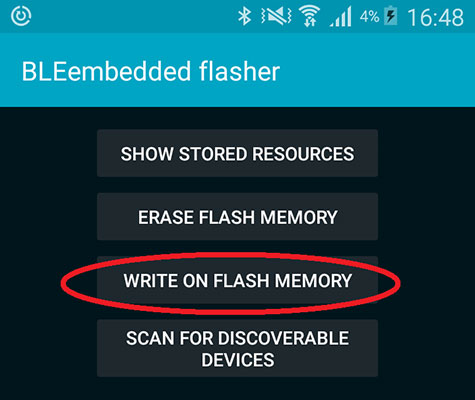
In order to flash the firmware on the device, connect the device to the programmer provided by the manufacturer (CC Debugger) and the programmer to the smartphone via USB, using a micro USB-OTG cable. Flashing is performed using the BLEEmbeddedFlasher.apk Android application provided with the SAndroidE zip file, which must installed to the smartphone using the provided apk.
flashing.jpg


Enumerating resources
The resources available on each device shall be enumerated, giving a unique id to each one, which gives the pointer to access at the resources by the framework.
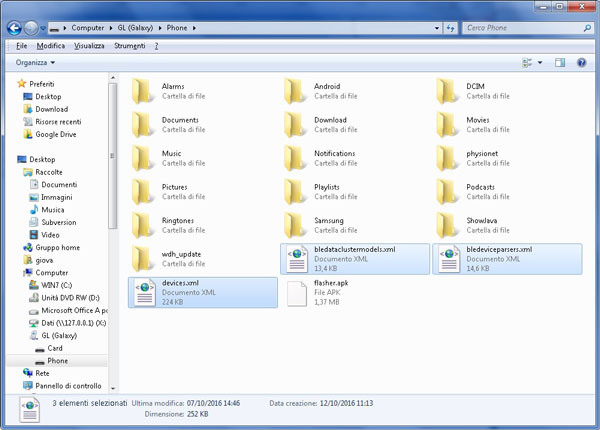
Resource enumeration requires to have the right xml description files within the home of our smartphone internal storage. These files act like a database of the supported devices: describing features and resources available for each device and how to interact with them. VERY IMPORTANT: withouth these files enumeration of resources and the following steps won't be possible: the BLEEmbeddedFlasher app would find some devices near but would never know how to interact with their resources.
xml-files-to-device-int-storage-600px.jpg
Mandatory files to include are: devices.xml, bledeviceparsers.xml and bledataclustermodels.xml. If beacon support is desired, then bleparsers.xml is needed too. Example of these files can be found in the SandroidE zip package.
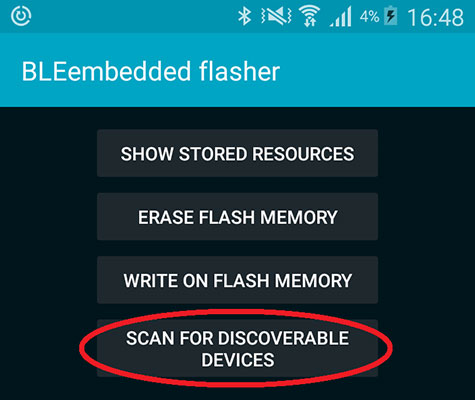
Now we can start the BLEEmbeddedFlasher app to enumerate devices resources.
addressing-resources.jpg
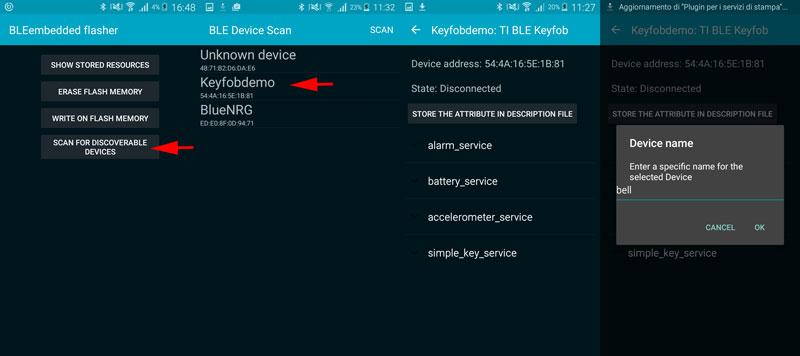
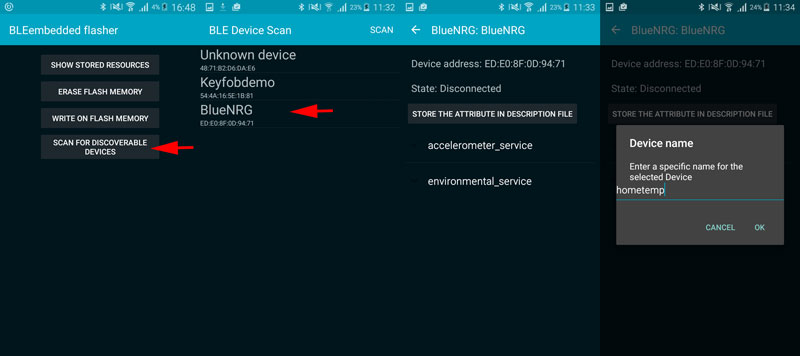
In order to pair the device with the smartphone, we need first to make it discoverable, and then following the instruction in the figures below, to find and giving it a unique name.
NOTE: If the devices is supported/described as previously described the BLE services and attributes will be shown after the connection with the remote device.
NOTE: To enable the bluetooth advertising mode on Texas devices press once the button labeled as B3 on the PCB.
addressing-resources.jpg
In this example the Texas device is named bell, while the ST device is named hometemp.
enumerating-texas.jpg
enumerating-st.jpg
The configuration procedure aims to populate the bleresources.xml, the BLEEmbeddedFlasher application automatically adds them to a file. This dinamically generated file, together with previously mentioned Configuration Files, are needed by the app developed in next step. In case the file already exist (reporting the information of the required devices), because the configuration procedure was previously done, there would be no need to repeate this procedure.
App development
First of all install Android Studio, the official development environment to develop Android apps.
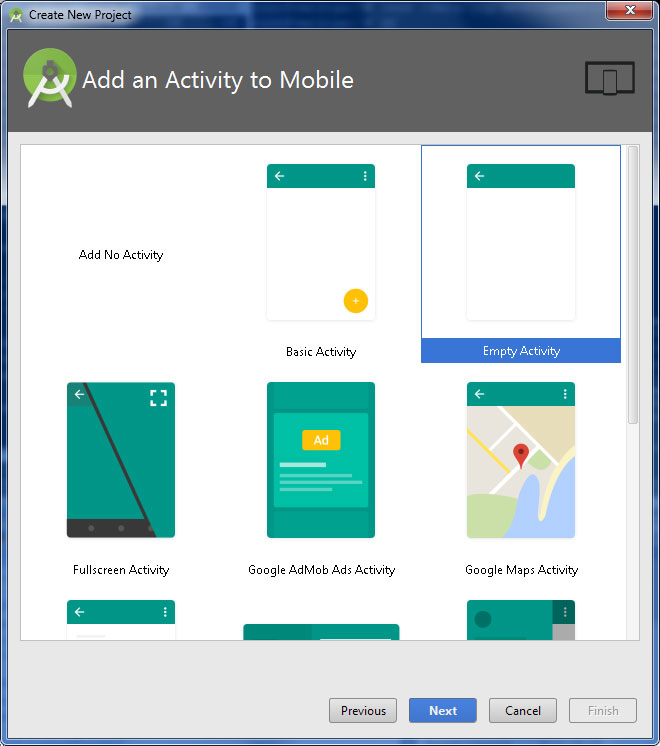
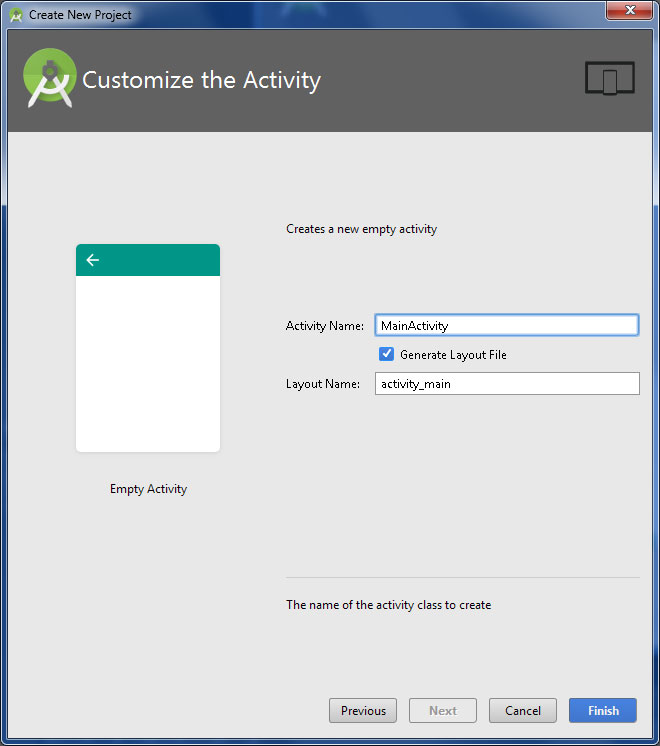
Creating the project
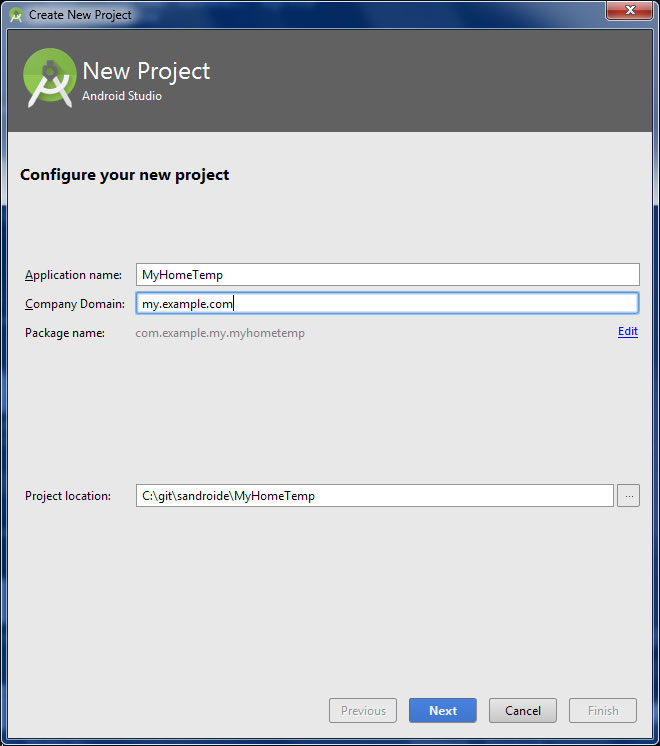
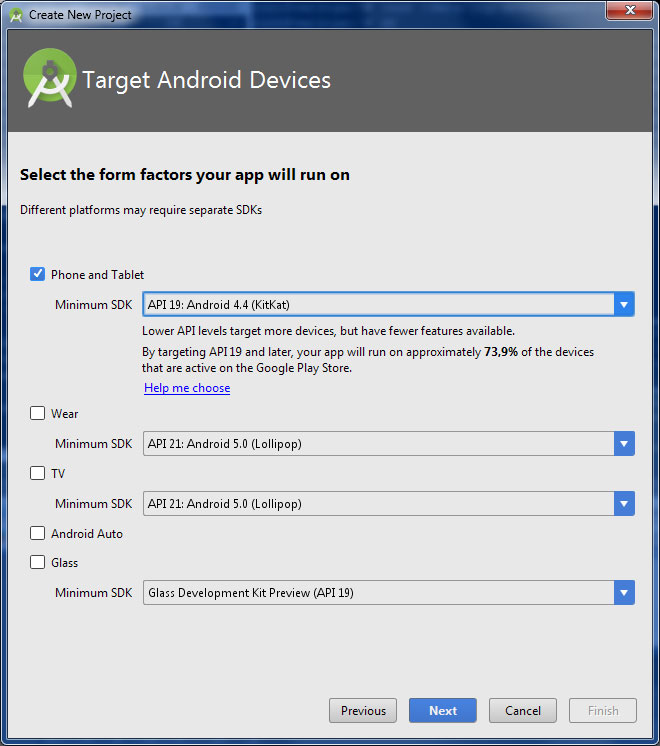
Start creating a project, with an empty activity, supporting the latest Android version.
create-project-1.jpg
create-project-2.jpg
create-project-3.jpg
create-project-4.jpg
create-project-5.jpg
Sandroide Library inclusion
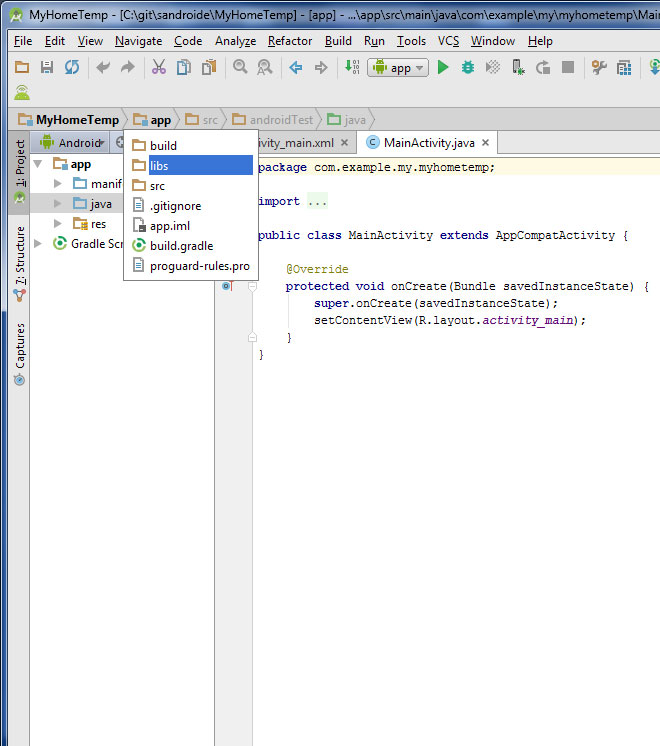
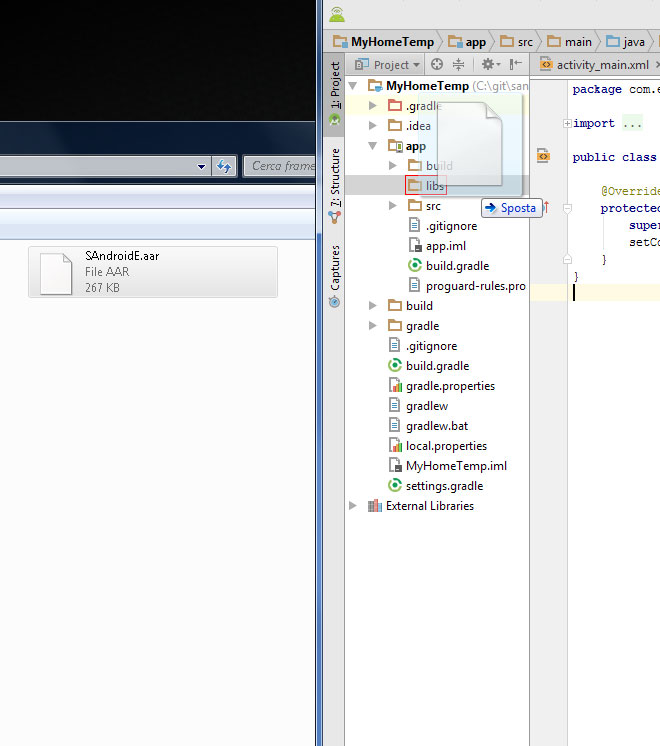
Copy the SAndroidE.aar file from the zip to your app's libs folder.
lib-inclusion-1.jpg
lib-inclusion-2.jpg
Then add the following lines into your app's build.gradle file and click on Sync now to include the library into your project.
#!java
		allprojects {
			repositories {
				jcenter()
				flatDir {
					dirs 'libs'
				}
			}
		}

		dependencies {
			compile(name:'SAndroidE', ext:'aar')
		}
Your build.gradle should resemble like the one in the figure below:
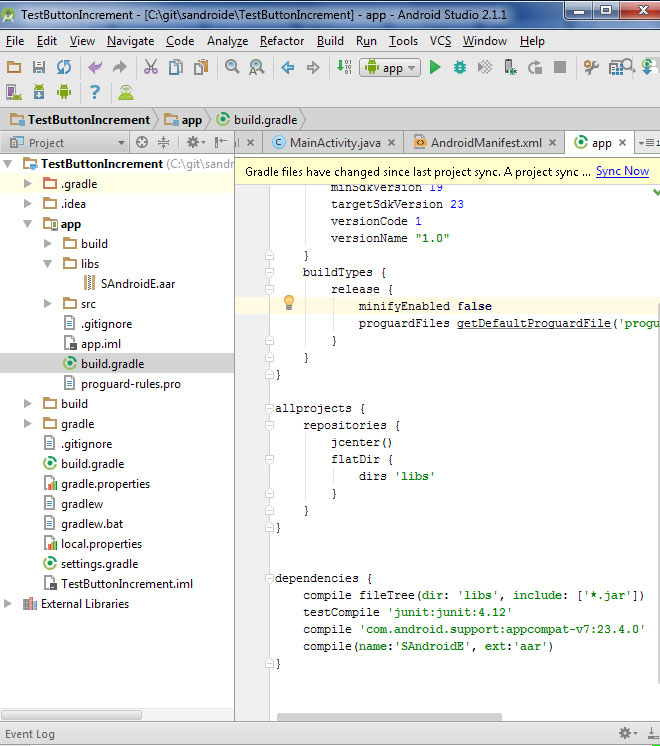
lib-inclusion-4.jpg
Now the application has access to SAndroidE library classes.
NOTE: SAndroidE is currently provided as .aar Android library file, instead of the common Java library format (.jar), to let your app automatically inherit all the permissions required by SAndroidE framework for working correctly with your devices.
Writing the app
App's layout
The application layout is created by editing the file res/layout/activity_main.xml.
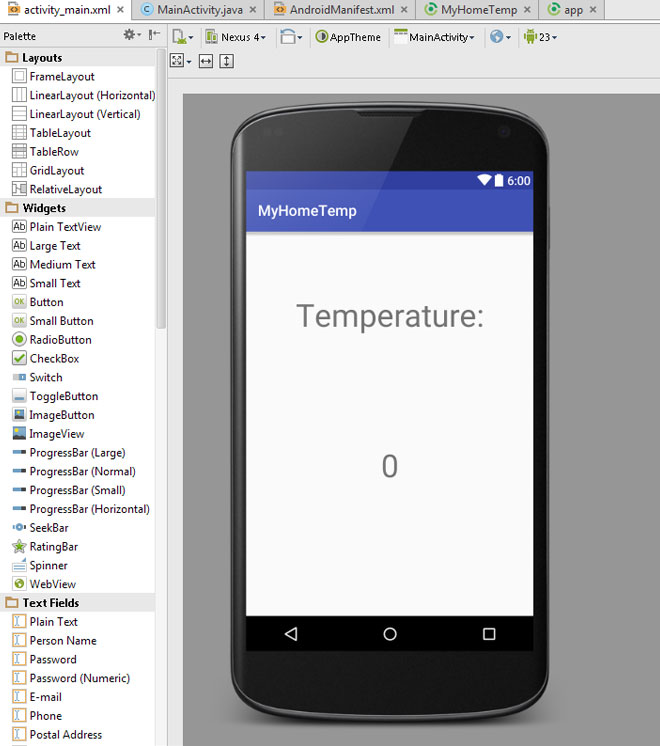
dev-layout-temp.jpg
The simple layout shown in figure above may be obtained by switching from Design to Text tab in Android Studio IDE and entering the following XML code:
#!xml
		<?xml version="1.0" encoding="utf-8"?>
		<?xml version="1.0" encoding="utf-8"?>
		<?xml version="1.0" encoding="utf-8"?>
		<RelativeLayout xmlns:android="http://schemas.android.com/apk/res/android"
			xmlns:tools="http://schemas.android.com/tools"
			android:layout_width="match_parent"
			android:layout_height="match_parent"
			android:paddingBottom="@dimen/activity_vertical_margin"
			android:paddingLeft="@dimen/activity_horizontal_margin"
			android:paddingRight="@dimen/activity_horizontal_margin"
			android:paddingTop="@dimen/activity_vertical_margin"
			tools:context="com.example.my.myhometemp.MainActivity">

			<TextView
				android:layout_width="wrap_content"
				android:layout_height="wrap_content"
				android:text="Temperature:"
				android:id="@+id/tvLabel"
				android:scaleY="3"
				android:scaleX="3"
				android:layout_alignParentTop="true"
				android:layout_centerHorizontal="true"
				android:layout_marginTop="88dp" />

			<TextView
				android:layout_width="wrap_content"
				android:layout_height="wrap_content"
				android:text="0"
				android:id="@+id/tvTemperature"
				android:scaleY="3"
				android:scaleX="3"
				android:layout_alignParentTop="true"
				android:layout_centerHorizontal="true"
				android:layout_marginTop="288dp" />
		</RelativeLayout>
App's logic
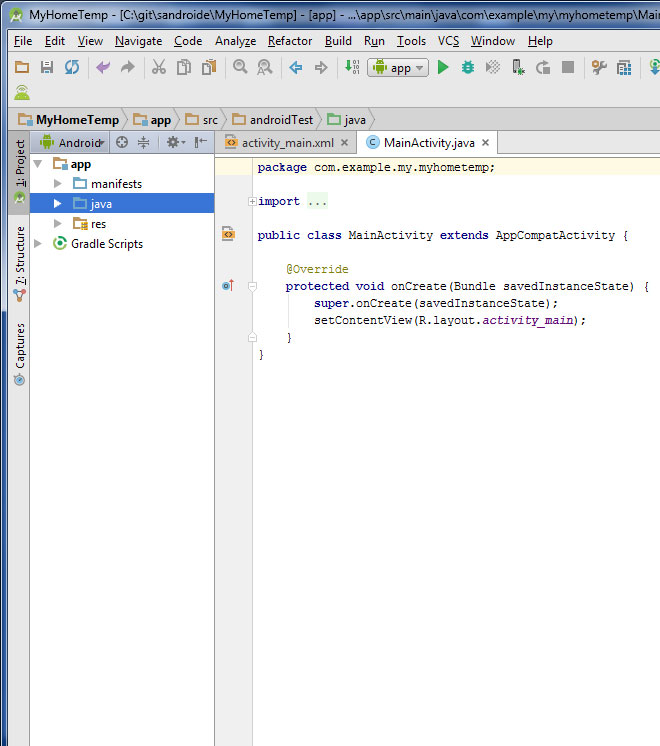
The application logic is implemented in the MainActivity.java file.
In this example we are going to monitor environment temperature, provided by the ST external sensor. Similarly to what is expected for internal sensors, our Activity must implement the BLESensorEventListener interface, which is similar to the SensorEventListener interface provided by the Android SDK.
#!java
		public class MainActivity extends Activity implements BLESensorEventListener {
All objects representing the remote resources, and the textviews shown on the app's User Interface are instantiated within the activity as class variables:
#!java
		BLESensor mThermometer;
		BLEAlarm mbleAlarm;
		BLEButton mbleButton1;
		BLEButton mbleButton2;
		private BLESensorManager mSensorManager;

		TextView tvTemperature;
Within the activity's onCreate method the SAndroidE library is initializated, using the BLEContext.init method. It is mandatory to call this method before any other operation related to the SAndrodE library.
#!java
		@Override
		protected void onCreate(Bundle savedInstanceState) {
			super.onCreate(savedInstanceState);
			setContentView(R.layout.activity_main);

			BLEContext.initBLE(this);

			...
The Sensor Manager service is started to enable our app to receive data from external sensors.
#!java
		if (mSensorManager==null)
			mSensorManager = (BLESensorManager) BLEContext.
					getSystemService(BLEContext.SENSOR_SERVICE);
We can now link and initialize both remote resources and textviews:
#!java
		mThermometer = mSensorManager.getDefaultSensor
				(BLESensor.TYPE_TEMPERATURE, "hometemp_nrg_thermometer");
		tvTemperature=(TextView) findViewById(R.id.tvTemperature);
		mbleAlarm = (BLEAlarm) BLEContext.getSystemService
				(BLEContext.ALARM_SERVICE, "bell_key_alarm");
		mbleButton1 = (BLEButton) BLEContext.findViewById("bell_key_button1");
		mbleButton2 = (BLEButton) BLEContext.findViewById("bell_key_button2");
NOTE: the String parameters passed to the methods, which initialize the SAndrodE Objects are the 'pointer' defined in the configuration procedure. This 'pointer' can be found in the bleresources.xml file. In the current release of the library (version 0.1) this file is stored in the private memory of the 'BLEEmbeddedFlasher' application, thus in order to work correctly the library needs the application to be installed. In the next releases this limitation will be eliminated
Remote button handlers are implemented in the same way: they should only stop the alarm.
#!java
		BLEOnClickListener stopAlarmListener = new BLEOnClickListener() {
			@Override
			public void onClick(BLEItem bleItem) {
				(MainActivity.this).runOnUiThread(new Runnable() {
					  @Override
					  public void run() {
						  mbleAlarm.cancel();
					  }
				  }
				);
			}
		};
		if (mbleButton1 != null) {
			mbleButton1.setOnClickListener(stopAlarmListener);
		}
		if (mbleButton2 != null) {
			mbleButton2.setOnClickListener(stopAlarmListener);
		}
We implement methods declared within the BLESensorEventListener interface, in order to react to data coming from the temperature sensor. Here we push temperature value to User Interface and if value is greater than 25 Celsius degrees, the alarm on the Texas device is activated.
#!java
			@Override
			public void onSensorChanged(BLESensorEvent bleSensorEvent) {
				long timestamp = bleSensorEvent.timestamp;
				final float temperature = bleSensorEvent.values[0];
				(MainActivity.this).runOnUiThread(new Runnable() {
					  @Override
					  public void run() {
						  tvTemperature.setText(Float.toString(temperature)+" C");}
				  }
				);

				if (temperature>25)
				{
					(MainActivity.this).runOnUiThread(new Runnable() {
						  @Override
						  public void run() {
							  mbleAlarm.alarm(9000);
						  }
					  }
					);
				}
			}

			@Override
			public void onAccuracyChanged(BLESensor bleSensor, int i) {

			}
Here we ask the thermometer sensor to apply a sampling period of 3000ms and that the callback delegated to handle the temperature event is defined within this activity.
#!java
			protected void onResume() {
				super.onResume();
				mSensorManager.registerListener
						(this, mThermometer, 3000);

			}
Below the full MainActivity.java source code is reported:
#!java

		package com.example.my.myhometemp;

		import android.app.Activity;
		import android.support.v7.app.AppCompatActivity;
		import android.os.Bundle;
		import android.widget.TextView;

		import eu.angel.bleembedded.lib.BLEContext;
		import eu.angel.bleembedded.lib.item.BLEItem;
		import eu.angel.bleembedded.lib.item.alarm.BLEAlarm;
		import eu.angel.bleembedded.lib.item.button.BLEButton;
		import eu.angel.bleembedded.lib.item.button.BLEOnClickListener;
		import eu.angel.bleembedded.lib.item.sensor.BLESensor;
		import eu.angel.bleembedded.lib.item.sensor.BLESensorEvent;
		import eu.angel.bleembedded.lib.item.sensor.BLESensorEventListener;
		import eu.angel.bleembedded.lib.item.sensor.BLESensorManager;

		public class MainActivity extends Activity implements BLESensorEventListener {

			private static final String TAG = "MainActivity";

			TextView tvTemperature;
			BLESensor mThermometer;
			BLEAlarm mbleAlarm;
			BLEButton mbleButton1;
			BLEButton mbleButton2;
			private BLESensorManager mSensorManager;

			@Override
			protected void onCreate(Bundle savedInstanceState) {
				super.onCreate(savedInstanceState);
				setContentView(R.layout.activity_main);

				BLEContext.initBLE(this);

				if (mSensorManager==null)
					mSensorManager = (BLESensorManager) BLEContext.
							getSystemService(BLEContext.SENSOR_SERVICE);

				mThermometer = mSensorManager.getDefaultSensor
						(BLESensor.TYPE_TEMPERATURE, "hometemp_nrg_thermometer");
				tvTemperature=(TextView) findViewById(R.id.tvTemperature);
				mbleAlarm = (BLEAlarm) BLEContext.getSystemService
						(BLEContext.ALARM_SERVICE, "bell_key_alarm");
				mbleButton1 = (BLEButton) BLEContext.findViewById("bell_key_button1");
				mbleButton2 = (BLEButton) BLEContext.findViewById("bell_key_button2");

				BLEOnClickListener stopAlarmListener = new BLEOnClickListener() {
					@Override
					public void onClick(BLEItem bleItem) {
						(MainActivity.this).runOnUiThread(new Runnable() {
															  @Override
															  public void run() {
																  mbleAlarm.cancel();
															  }
														  }
						);
					}
				};
				if (mbleButton1 != null) {
					mbleButton1.setOnClickListener(stopAlarmListener);
				}
				if (mbleButton2 != null) {
					mbleButton2.setOnClickListener(stopAlarmListener);
				}

				tvTemperature.setText("-1 C");
			}


			@Override
			public void onSensorChanged(BLESensorEvent bleSensorEvent) {
				long timestamp = bleSensorEvent.timestamp;
				final float temperature = bleSensorEvent.values[0];
				(MainActivity.this).runOnUiThread(new Runnable() {
					  @Override
					  public void run() {
						  tvTemperature.setText(Float.toString(temperature)+" C");}
				  }
				);

				if (temperature>25)
				{
					(MainActivity.this).runOnUiThread(new Runnable() {
						  @Override
						  public void run() {
							  mbleAlarm.alarm(9000);
						  }
					  }
					);
				}
			}

			@Override
			public void onAccuracyChanged(BLESensor bleSensor, int i) {

			}


			protected void onResume() {
				super.onResume();
				mSensorManager.registerListener
						(this, mThermometer, 3000);

			}

		}
Let's run it
Finally we are able to run our application by connecting the PC and the smartphone with the USB micro cable. Click the Run button in Android Studio and select the connected smartphone to deploy and run our compiled application on it.
In our example, when temperature sensor, located on the ST device(left in the picture), becomes higher than 25 degrees, the alarm on the Texas is started. We can then stop the alarm by pressing any of the two buttons on the Texas device.
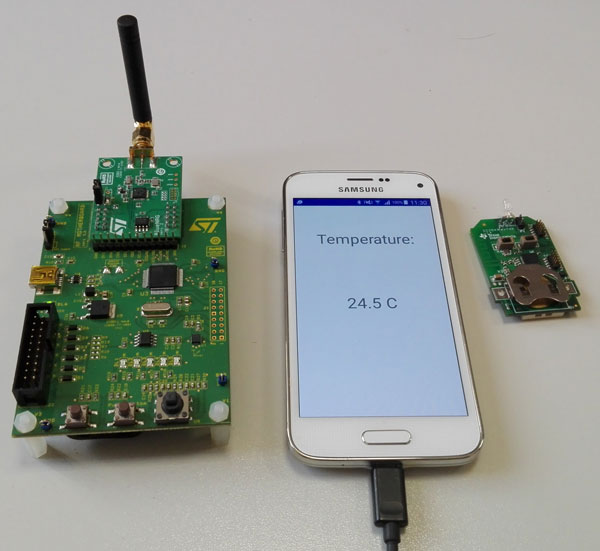
myhometemp.jpg
NOTE: This app is meant to be as simple as possible. If temperature stays over 25 degrees then alarm gets continuosly started. We can eventually optimize it by starting the alarm only once, each time temperature gets higher than 25 degrees.
NOTE: If devices do not connect at startup, please shutdown all Bluetooth applications already running, like the BleembeddedFlasher app or previously launched versions of our app.
NOTE: The default firmware available on the ST device, generates a new MAC address each time the device is powered on. Considered this, we need to power it on, enumerate its resources and launch our home automation app withouth powering it off. Each time we switch the power off, we would need to enumerate its resources again to let our app able to find it.